Welcome to your New Home Sewing Machine Manual! This guide is designed to help you unlock the full potential of your sewing machine. From setup and maintenance to troubleshooting and creative projects, this manual provides step-by-step instructions to ensure a seamless sewing experience. Whether you’re a beginner or an experienced sewer, this comprehensive resource will help you master your machine with confidence. Discover tips for optimal performance, safety precautions, and ways to enhance your sewing skills. Let’s get started on this exciting journey of creativity and precision!
1.1 Welcome to Your New Sewing Machine
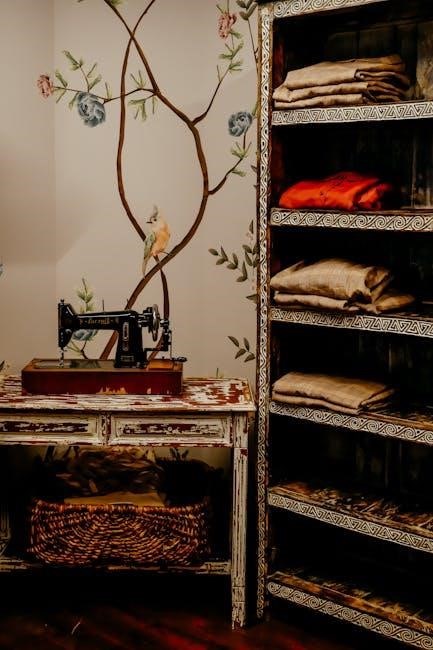
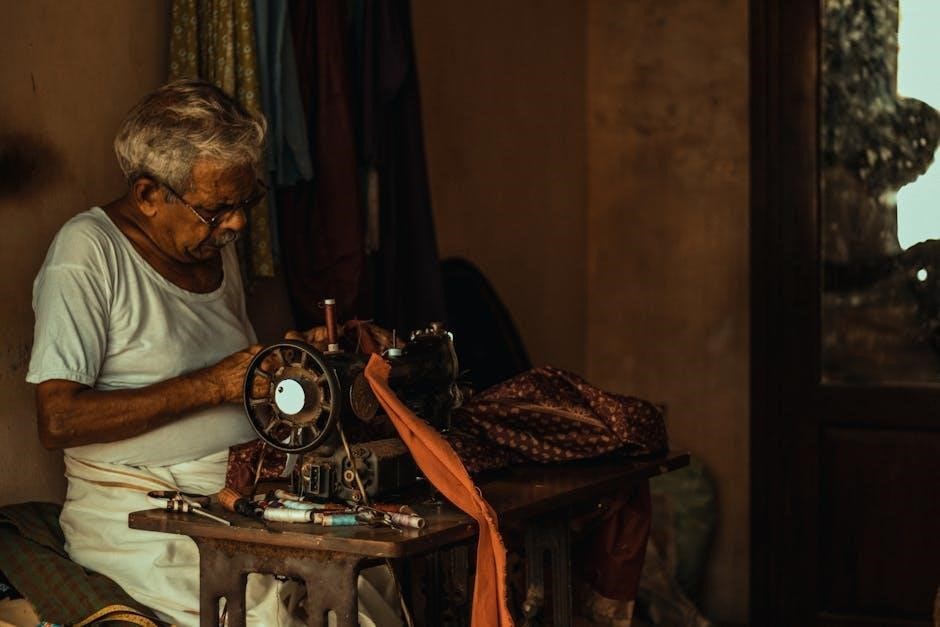
Welcome to your New Home Sewing Machine! This manual is your gateway to unlocking creativity and precision in sewing. Whether stitching simple seams or crafting intricate designs, this machine is designed for household use, offering versatility and ease. Explore its features, follow safety guidelines, and dive into a world of endless possibilities. Happy sewing!
1.2 Importance of Reading the Manual
Reading your New Home Sewing Machine Manual is essential for understanding its features, proper operation, and maintenance. It provides critical safety guidelines, troubleshooting tips, and step-by-step instructions. By following the manual, you ensure optimal performance, avoid potential errors, and prolong the machine’s lifespan. Take the time to familiarize yourself with its contents for a smooth and enjoyable sewing experience.
1.3 Key Features of the New Home Sewing Machine
Your New Home Sewing Machine is equipped with advanced features for versatile sewing. It includes multiple stitch options, automatic threading, and a built-in needle threader; The machine also offers a free-arm design for easy maneuverability and a robust motor for consistent performance. Additional features like adjustable tension and a variety of presser feet ensure precision and adaptability for any fabric type, making it ideal for both beginners and seasoned sewers.
Safety Guidelines and Precautions
- Always unplug the machine when not in use or during maintenance.
- Use the correct needle plate to avoid needle breakage.
- Keep children away from the machine while it’s in operation.
- Avoid modifying the machine’s plug or electrical components.
- Follow instructions carefully to prevent accidents and ensure safe operation.
2.1 General Safety Precautions
- Always unplug the machine when not in use or during maintenance.
- Keep children and pets away while operating the machine.
- Use the correct needle plate to prevent needle breakage.
- Avoid modifying the machine or its plug.
- Never leave the machine unattended while plugged in.
- Familiarize yourself with all parts before use.
2.2 Electrical Safety Tips
- Always unplug the machine before cleaning or making adjustments.
- Ensure the power cord is undamaged and avoid exposing it to water.
- Keep the sewing machine away from flammable materials.
- Use the correct voltage and avoid overloading electrical outlets.
- Disconnect the machine when not in use to prevent electrical hazards.
2.3 Handling the Sewing Machine Needle
Always handle the needle with care to avoid injury. Use the proper needle plate to prevent breakage. Never touch the needle while the machine is operating. Store needles safely when not in use. Avoid using bent or damaged needles, as they can cause machine damage or fabric tears. Always unplug the machine before replacing or adjusting the needle for added safety.
Understanding Your Sewing Machine
Get familiar with your New Home sewing machine by exploring its parts, features, and settings. This section helps you understand the machine’s components and their functions, ensuring smooth operation and optimal use of its capabilities for various sewing tasks and projects.
3.1 Identifying Machine Parts
Familiarize yourself with the essential components of your New Home sewing machine. Key parts include the spool pins, tension dials, presser foot, and bobbin case. Understanding these elements is crucial for proper setup, threading, and operation. Refer to the diagrams provided in the manual for a clear visual guide to locating and identifying each part accurately.
3.2 Diagrams and Pictographs Explained
The manual includes detailed diagrams and pictographs to guide you through machine setup and operation. These visuals help identify parts, demonstrate threading techniques, and illustrate proper maintenance procedures. Clear symbols indicate safety precautions, while step-by-step images simplify complex tasks. Refer to these visuals for a better understanding of your machine’s functions and to ensure safe, efficient use.
3.4 Specialized Attachments and Accessories
Your New Home sewing machine comes with specialized attachments and accessories to enhance its functionality. These include various presser feet for zippers, buttonholes, and edge stitching, as well as additional tools like a buttonhole maker and edge guide foot. These attachments expand the machine’s capabilities, allowing you to tackle a wide range of sewing tasks with precision and ease.
Threading and Setting Up Your Machine
Threading and setting up your machine correctly ensures smooth operation. Follow the manual’s step-by-step guide to thread the machine, wind the bobbin, and adjust tension properly.
4.1 Step-by-Step Threading Guide
Follow these simple steps to thread your machine: Locate the spool pin and guide the thread through the tension discs. Loop the thread around the take-up lever and insert it into the needle. Ensure the thread is taut but not too tight. Refer to the manual’s diagrams for precise guidance to avoid tangles or misalignment.
4.2 Winding and Inserting the Bobbin
Start by placing the bobbin on the winder and guide the thread through the bobbin tension guide. Wind the thread evenly, ensuring it’s not too tight or loose. Once full, cut the thread and insert the bobbin into the bobbin case. Hold the thread tail gently to prevent tangling and ensure the bobbin is properly seated for smooth stitching. Always refer to the manual for precise alignment.
4.3 Adjusting Thread Tension
Proper thread tension is crucial for even stitching. Turn the tension dials on the machine to adjust the top thread, ensuring it’s neither too tight nor too loose. Test the tension by sewing a scrap fabric sample. If the stitches are uneven, tweak the dials slightly and retest. For the bobbin thread, consult the manual for specific adjustment steps to achieve balanced thread flow. Avoid over-tightening to prevent machine damage or thread breakage.
Basic Sewing Operations
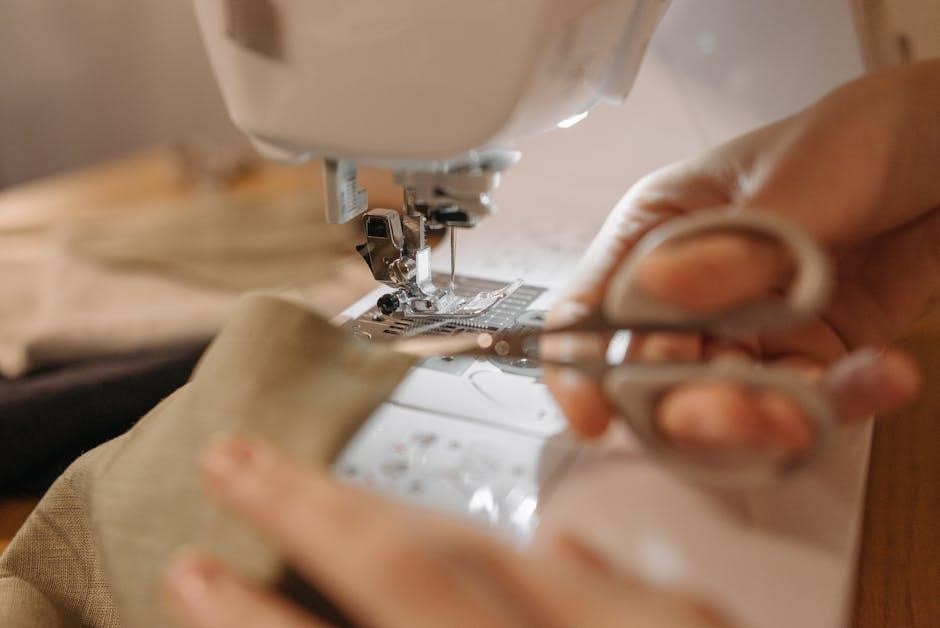
Master the fundamentals of sewing with ease. Start by guiding fabric smoothly under the needle and maintain consistent speed. Use the reverse stitch for secure seams. This section covers essential techniques to help you sew confidently, from straight stitching to backstitching, ensuring professional-looking results for all your projects.
5.1 Starting Your First Sewing Project
Begin by threading your machine and selecting the appropriate stitch type. Choose a simple fabric and pattern for your first project. Start with a straight stitch, then gradually explore other stitches. Always test on scrap fabric before sewing your final piece. Use the reverse stitch function to secure seams. This will help you build confidence and achieve professional results from the start.
5.2 Selecting the Right Stitch Type
Choose the appropriate stitch type based on your fabric and project needs. For lightweight fabrics, use a straight stitch. For stretchy materials, select a zigzag or stretch stitch. Decorative stitches can enhance embroidery or quilting projects. Refer to your machine’s stitch chart for guidance. Experiment with different stitches to achieve the desired texture and durability for your sewing tasks.
5.3 Using the Reverse Stitch Function
To use the reverse stitch function, press the reverse button to sew backward. This feature reinforces seams at the beginning or end. It’s especially useful for heavy fabrics or when sewing in reverse. Always test the function on scrap fabric first to ensure proper alignment and stitch quality. This ensures strong, durable seams for your projects.
Maintenance and Troubleshooting
Regular cleaning and lubrication keep your machine running smoothly. Address common issues like thread jams or tension problems promptly. Consult the manual for solutions and maintenance tips to ensure optimal performance and extend the machine’s lifespan.
6.1 Cleaning and Lubricating the Machine
Regular cleaning and lubrication are essential for maintaining your New Home sewing machine. Use a soft brush to remove lint and debris from the bobbin area and tension discs. Apply a few drops of sewing machine oil to moving parts, ensuring smooth operation. Always unplug the machine before cleaning to avoid accidents. Follow the manual’s guidelines for specific lubrication points to keep your machine in peak condition and prevent mechanical issues. Consistent maintenance will extend the machine’s lifespan and ensure consistent stitching quality. Proper care will also reduce the risk of breakdowns and keep your machine running efficiently for years to come.
6.2 Common Issues and Solutions
Addressing common issues with your New Home sewing machine can ensure uninterrupted sewing sessions. Thread tension problems often cause uneven stitches; adjust the tension discs as per the manual. If the bobbin isn’t winding properly, check for tangled thread or incorrect placement. For thread jams, gently remove the bobbin and clear any tangles. Regular cleaning and oiling can prevent mechanical issues. Always refer to the troubleshooting section for specific solutions to maintain optimal performance and extend the machine’s lifespan. Proper care and quick fixes will keep your machine running smoothly and reliably for all your sewing needs. Consistent maintenance is key to avoiding costly repairs and ensuring consistent stitch quality. By addressing issues promptly, you can enjoy a hassle-free sewing experience and achieve professional results every time.
6.3 Replacing Parts Like the Needle and Bobbin
Regularly replacing the needle and bobbin ensures optimal performance of your New Home sewing machine. To replace the needle, turn off the machine, lift the presser foot, and gently pull the needle out. For the bobbin, remove any remaining thread, slide out the bobbin case, and insert a new one. Always unplug the machine before replacing parts. Use genuine New Home replacement parts for compatibility and durability. Proper replacement prevents thread breakage and ensures smooth stitching. Refer to the manual for specific diagrams and steps to guarantee accurate installation. Keep extra needles and bobbins on hand to minimize downtime during projects. Regular maintenance extends the machine’s lifespan and maintains consistent stitch quality. Replace parts as needed to keep your sewing experience seamless and enjoyable; Always follow safety guidelines when handling sharp components like needles. Store unused parts securely to avoid misplacement. By replacing parts correctly, you ensure your machine continues to function at its best, delivering professional results for all your sewing needs. Proper care and timely replacements are essential for maintaining your machine’s efficiency and longevity.
Advanced Sewing Techniques
Unlock your creativity with advanced techniques like buttonholes, quilting, and embroidery. This section guides you through complex projects, ensuring precision and perfection with your New Home sewing machine.
7.1 Sewing Buttonholes
Master the art of sewing buttonholes with ease! This section guides you through using the automatic buttonhole stitch, ensuring perfectly aligned and professional-looking results. Learn how to measure, position, and sew buttonholes accurately. Tips on fabric preparation and stabilizing materials are included for flawless execution. With practice, you’ll achieve professional-grade buttonholes every time, enhancing your sewing projects with precision and style.
7.2 Using Presser Feet for Various Fabrics
Master the technique of using presser feet for different fabrics! From delicate silks to heavy denim, the right presser foot ensures smooth stitching. Use the zigzag foot for general sewing, Teflon foot for slippery fabrics, and walking foot for thick materials. Experiment with specialized feet to achieve professional results; Consult your manual for compatibility and practice on scrap fabric for optimal performance.
7.3 Tips for Quilting and Embroidery
Elevate your quilting and embroidery projects with expert tips! Choose the right stitch type for your fabric, use specialized presser feet like the walking foot for even feeding, and adjust thread tension for smooth results. Experiment with decorative stitches, stabilize fabrics with interfacing, and practice on scrap material. Reference your manual for optimal settings and techniques to achieve professional-quality finishes every time.
Accessories and Additional Features
Explore a variety of accessories like specialized presser feet, extra needles, and bobbins. Utilize additional features such as automatic bobbin winders and built-in stitch guides for precise sewing. Access online resources for more attachments and troubleshooting tips.
8.1 List of Included Accessories
Your New Home Sewing Machine comes with essential accessories to enhance your sewing experience. These include a set of needles, bobbins, a bobbin winder, presser feet for various fabrics, an oiler for maintenance, and a detailed instruction manual. Additional items like a hardcover case and stitch guides may also be provided, ensuring you’re well-equipped for diverse sewing projects right out of the box.
8.2 Optional Presser Feet and Attachments
Enhance your sewing capabilities with optional presser feet and attachments designed for your New Home Sewing Machine. Choose from specialized feet like the edge guide, zipper, or blind hem feet to tackle specific tasks with precision. Additional attachments, such as quilting guides or embroidery hoops, can also be purchased to expand your machine’s versatility. Explore online retailers or official stores for these accessories.
8.3 Where to Find Additional Resources
For additional resources, visit the official New Home Sewing Machine website or authorized retailers. Online marketplaces like AliExpress offer manuals and accessories. Join sewing communities like ISMACS for expert advice and troubleshooting tips. Download free PDF manuals from trusted sources or purchase specialized guides for vintage models. These resources will help you maximize your sewing machine’s potential and explore new creative possibilities.
Sewing Machine Manuals and Guides
Explore a wealth of sewing machine manuals and guides, including user, service, and repair manuals for brands like Singer, Kenmore, and New Home. These resources provide detailed instructions for setup, maintenance, and troubleshooting, ensuring optimal performance and longevity of your machine. Access vintage and modern manuals to enhance your sewing experience.
9.1 Downloading Free Sewing Machine Manuals
Access free sewing machine manuals for various brands, including New Home, Singer, and Janome, in PDF format. Visit official websites or platforms like ManualsLib to download user, service, and repair guides. These manuals provide detailed instructions for setup, maintenance, and troubleshooting. Search by model number or brand to find specific manuals. Ensure compatibility with your machine for optimal results.
9.2 Service Manuals for Repair and Maintenance
Service manuals provide detailed repair and maintenance instructions for your sewing machine. They include troubleshooting tips, parts diagrams, and step-by-step repair guides. Access manuals for models like New Home 539 or 551 to address issues like thread tension or needle replacement. These resources are essential for DIY repairs and ensuring your machine runs smoothly. Download them online for convenient access.
9.3 Accessing Vintage and Antique Manuals
Vintage and antique sewing machine manuals are invaluable for maintaining and repairing classic models. Many are available online as free PDF downloads, offering original instructions and diagrams. Websites like ISMACS or dedicated sewing communities provide archives for models like New Home NLB or NH. These resources help preserve the functionality and heritage of your vintage sewing machine.

Eco-Friendly Tips for Sewing
Welcome to the eco-friendly section! Reduce fabric waste by planning projects carefully and using scraps creatively. Opt for energy-efficient sewing practices and sustainable materials. Preserve resources by maintaining your machine properly and using eco-conscious accessories. Explore upcycling and repurposing projects to minimize environmental impact while enjoying your sewing hobby.