Welcome to the Coleman Mach 15 installation guide․ This 15000 BTU RV air conditioner offers powerful cooling and efficient performance․ Designed for ducted systems, it ensures robust airflow and reliability․ Follow this guide for a seamless setup and optimal functionality․
1․1 Overview of the Coleman Mach 15 Air Conditioner
The Coleman Mach 15 is a 15000 BTU RV air conditioner designed for high-performance cooling․ It fits 14×14 inch vent openings and is part of the 48000 series, offering robust cooling output․ Known for its strong airflow, it’s ideal for ducted systems, providing reliable comfort in various RV setups․
1․2 Importance of Proper Installation
Proper installation of the Coleman Mach 15 is crucial for efficient cooling, safety, and durability․ Incorrect setup can lead to poor performance, electrical issues, or water leaks․ Ensuring a sealed, secure, and level installation guarantees optimal airflow and prevents damage, while following manufacturer guidelines ensures long-term reliability and safety for your RV․

Pre-Installation Checks and Requirements
Before installing the Coleman Mach 15, verify compatibility with your RV’s roof size and electrical system․ Ensure the vent opening matches the 14×14-inch requirement and gather necessary tools and materials for a smooth setup․
2․1 Verifying the AC Specifications and Compatibility
Ensure the Coleman Mach 15’s 15000 BTU capacity and 14․8 Amp draw match your RV’s electrical and cooling needs․ Check that the unit fits the 14×14-inch roof vent opening and is compatible with your RV’s ducted system for optimal performance and proper installation․
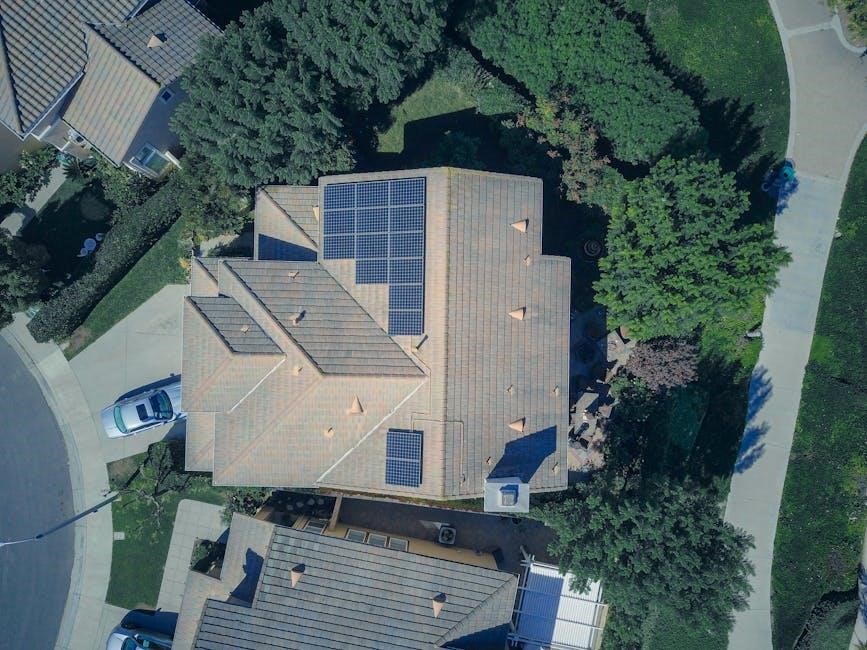
2․2 Preparing the RV Roof for Installation
Before installing the Coleman Mach 15, remove any existing air conditioner and ensure the roof opening is clean and free of debris․ Verify the 14×14-inch vent opening is properly sized and structurally sound․ Clean the area thoroughly to ensure a secure and leak-free installation․
2․3 Gathering Necessary Tools and Materials
Gather essential tools like screwdrivers, wrenches, and a drill․ Ensure you have sealing materials, gaskets, and weatherproofing compounds․ Collect mounting hardware, electrical connectors, and safety gear․ Verify compatibility of all components with the Coleman Mach 15 specifications to ensure a smooth and secure installation process․

Step-by-Step Installation Process
Begin with removing the old unit, then mount the Coleman Mach 15 securely․ Ensure proper sealing and electrical connections․ Follow detailed steps for a safe and efficient setup․
3․1 Removing the Old Air Conditioner (If Applicable)
Start by removing the filter covers and filters from the old AC․ Take out the four screws holding the cover in place․ Disconnect electrical connections carefully․ Lift the unit off the roof with assistance, ensuring no damage occurs during removal․ This step ensures a clean setup for the new installation․
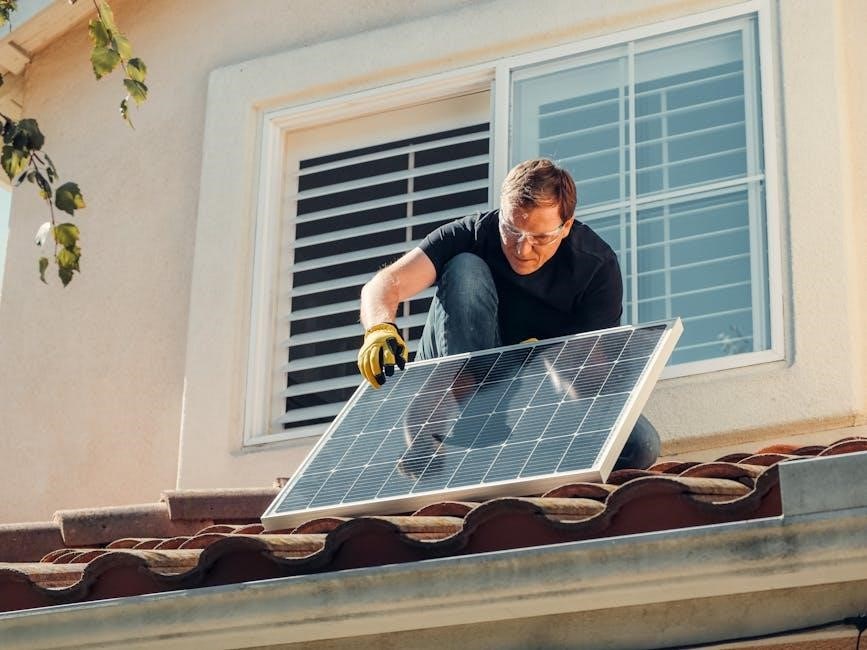
3․2 Mounting the Coleman Mach 15 Unit
Place the Coleman Mach 15 unit on the RV roof opening, ensuring proper alignment with the vent․ Use the provided mounting kit to secure it firmly․ Check the unit is centered and evenly positioned for optimal airflow and stability․ Follow the installation instructions to tighten all fasteners correctly․
3․3 Securing the Unit and Ensuring Proper Sealing
After mounting, ensure the Coleman Mach 15 unit is tightly secured with the provided hardware․ Apply sealant around the edges to prevent leaks․ Check all fasteners for tightness and verify the roof opening is fully covered for airtight sealing and weather protection․

Wiring and Electrical Connections
Connect the thermostat and ensure all electrical hookups are secure․ Test the system for proper function and check for any potential electrical issues or short circuits․
4․1 Connecting the Thermostat
Follow the thermostat’s installation instructions to determine the optimal mounting location․ Connect the thermostat according to the wiring diagram, ensuring all connections are secure․ Use the RV’s low-voltage wiring specifications to complete the setup․ Test the thermostat to ensure proper communication with the AC unit․
4․2 Ensuring Proper Electrical Hookups
Connect the Coleman Mach 15 to a compatible electrical system, ensuring all wiring matches the unit’s specifications․ Verify the RV’s electrical capacity supports the 15,000 BTU, 14․8 Amp compressor draw․ Use the provided wiring diagram for accurate connections․ Double-check all terminals for secure fastening and test the system post-installation for proper functionality․
4․3 Testing the System for Electrical Issues
After hooking up, use a multimeter to verify proper voltage at all terminals․ Check for short circuits and ensure all connections are secure․ Test the thermostat and compressor operation․ Refer to the wiring diagram for accurate testing procedures․ Address any issues promptly to prevent malfunctions and ensure safe, efficient system performance․
Post-Installation Checks and Maintenance
Inspect the system for leaks or damage․ Schedule regular maintenance, including filter cleaning and replacement․ Ensure proper drainage and check electrical connections for stability․ Maintain optimal performance and longevity․
5․1 Inspecting the Installation for Leaks or Damage
After installation, thoroughly inspect the Coleman Mach 15 unit for any signs of leaks or damage․ Check all seals, gaskets, and connections to ensure they are secure and airtight․ Visually examine the ducts and vents for proper alignment and integrity․ Address any issues promptly to prevent performance degradation or water damage․
5․2 Scheduling Regular Maintenance
Regular maintenance ensures your Coleman Mach 15 operates efficiently․ Schedule annual professional servicing and monthly filter cleaning․ Check for dust buildup and ensure all components are functioning properly․ Regular checks help prevent breakdowns and maintain optimal cooling performance throughout the season․
5․3 Cleaning and Replacing Filters
Regularly clean or replace the Coleman Mach 15 air filters to maintain efficiency․ Remove filters, gently wash with mild soap, and rinse thoroughly․ Replace every 1-2 months or as needed․ Dirty filters reduce airflow and performance, so ensure they are clean for optimal cooling and energy savings․

Troubleshooting Common Issues
This section addresses frequent problems with the Coleman Mach 15, such as no cooling, electrical issues, or water leaks, providing solutions and diagnostic steps for optimal performance․
6․1 Diagnosing No Cooling or Poor Performance
Check for issues like low refrigerant, blocked vents, or faulty compressors․ Ensure proper thermostat settings and electrical connections․ Verify filter cleanliness and duct integrity․ If problems persist, consult the Coleman Mach 15 manual for detailed troubleshooting steps to restore optimal cooling performance efficiently․
6․2 Addressing Electrical or Thermostat Problems
Check for loose connections, blown fuses, or tripped circuit breakers․ Ensure the thermostat is set correctly and functioning properly․ If issues persist, reset the unit by turning off the thermostat, pulling the fuse, and waiting five minutes before restoring power․ Consult the Coleman Mach 15 manual for detailed troubleshooting steps․
6․3 Resolving Water Leakage or Drainage Issues
Inspect the condensate drain for blockages and ensure it is clear․ Verify that the unit is installed level to prevent water pooling․ Check the drain hose for kinks or damage․ If leakage persists, consult the Coleman Mach 15 manual for detailed troubleshooting and potential solutions to resolve the issue effectively․
Safety Guidelines and Precautions
Always handle electrical components with care, ensure proper ventilation, and understand emergency shutdown procedures to prevent accidents during installation and operation․
7․1 Handling Electrical Components Safely
When handling electrical components, ensure the power is off․ Use insulated tools to avoid shocks․ Never touch live wires or components with wet hands․ Properly ground the system to prevent electrical hazards․ Always refer to the manual for specific safety precautions and guidelines during installation and maintenance․
7․2 Ensuring Proper Ventilation
Ensure proper ventilation during installation by installing vents correctly․ Maintain unobstructed airflow through ducts and vents․ Regularly inspect for blockages or leaks․ Proper ventilation enhances cooling efficiency and prevents moisture buildup․ Always follow the manufacturer’s guidelines for optimal airflow and system performance․
7․3 Understanding Emergency Shutdown Procedures
Familiarize yourself with emergency shutdown steps․ Turn off the thermostat, pull out the fuse, and wait five minutes․ Replace the fuse and allow the system to reset․ This ensures safety and prevents damage during unexpected issues․ Always prioritize system and personal safety during emergencies․
Special Considerations for Ducted Systems
The Coleman Mach 15 excels in ducted setups, offering strong airflow and reliability․ Ensure proper duct sizing and sealing for optimal performance in your RV’s ducted system configuration․
8․1 Installing the Coleman Mach 15 in a Ducted Setup
For ducted systems, ensure the Coleman Mach 15 is securely mounted on the RV roof․ Connect the ductwork to the unit’s plenum, ensuring all joints are sealed․ Proper alignment and tight connections prevent air leaks, maximizing efficiency and airflow distribution throughout your RV․
8․2 Optimizing Airflow in Ducted Systems
Ensure proper duct sizing and routing to maintain airflow efficiency․ Insulate ducts to prevent heat loss and condensation․ Seal all connections and vents to avoid leaks․ Use adjustable registers for balanced air distribution․ Regularly clean ducts to prevent obstructions and maintain optimal cooling performance across your RV․
8․3 Balancing Air Distribution
Ensure even cooling by balancing air distribution across your RV․ Adjust registers to direct airflow evenly to all zones․ Inspect ducts for blockages and ensure proper connections․ Use airflow-measuring tools to optimize distribution․ This ensures efficient cooling and consistent comfort throughout your RV, maximizing the Mach 15’s performance․

Final Tips for Optimal Performance
Adjust the thermostat for energy efficiency, monitor outdoor temperatures to maximize cooling, and understand the reset process for quick troubleshooting without professional assistance․
9․1 Adjusting the Thermostat for Efficiency
For optimal performance, set the thermostat between 68-72°F to balance comfort and energy savings․ Use the 12 VDC wall thermostat, following wiring specs․ Adjust settings seasonally and ensure proper calibration for consistent cooling and reduced power consumption․
9․2 Monitoring Outdoor Temperature Effects
Outdoor temperatures significantly impact the Coleman Mach 15’s performance․ High temperatures can reduce cooling capacity․ Monitor temperature levels to ensure optimal operation․ Adjust the thermostat settings accordingly to maintain efficiency․ Regular checks of the system are essential to adapt to varying outdoor conditions and ensure consistent cooling․ Proper adjustments can prevent overheating and maintain airflow․
9․3 Understanding the Reset Process for the AC Unit
To reset the Coleman Mach 15 AC, turn off the thermostat, pull out the fuse, and wait five minutes․ Replace the fuse and wait again․ This process resolves electrical issues or system malfunctions․ Always ensure the unit is off before resetting to avoid complications and ensure proper functionality․